


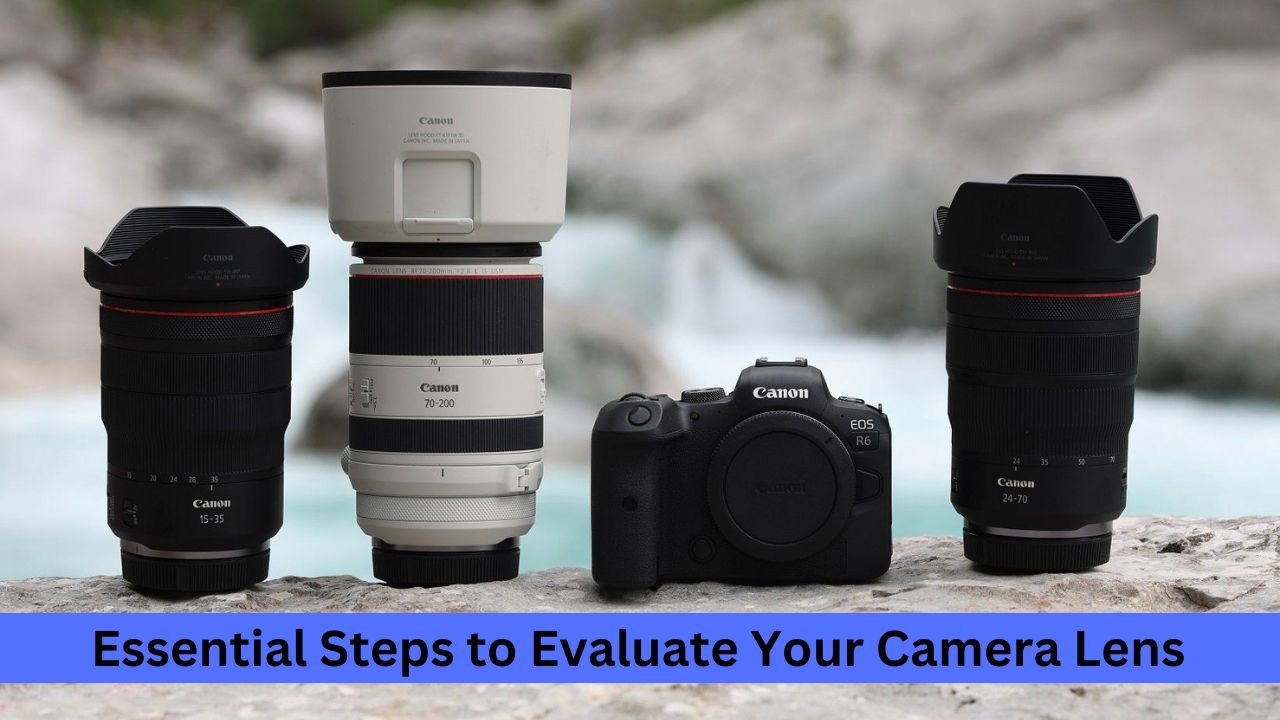
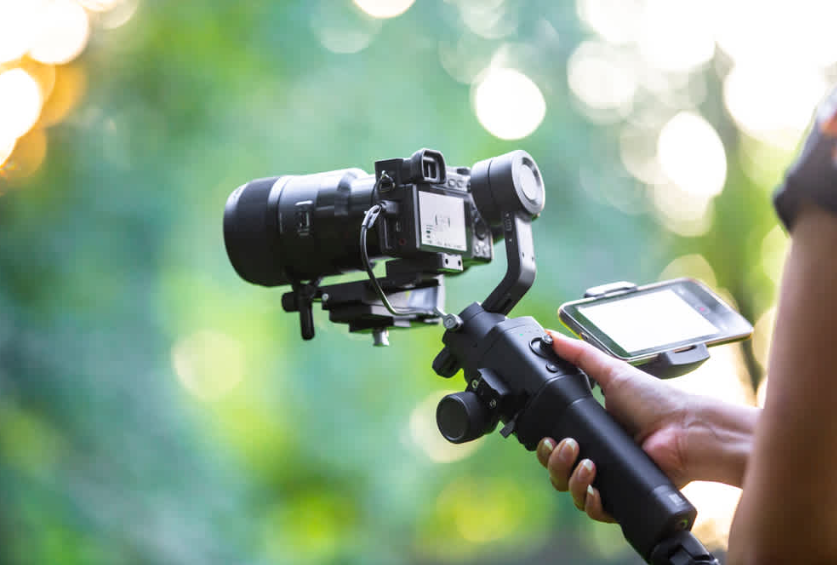
The question of how to test a camera lens is becoming a common topic in online photography discussions. Testing lenses is a valuable strategy to ensure you’ve got a quality product. Whether you’ve just brought your new lens home or you’re considering a used one, at the very least, a basic examination is essential.
Regrettably, there are defective camera lenses in the market, even freshly unpacked ones from leading camera and lens manufacturers. Therefore, it’s advisable to test a camera lens before purchasing.


Understanding Camera Lens Testing Various levels of testing and assessment can be carried out. The simplest approach is to shoot some photos and check their quality. While this method is convenient and allows you to take pictures, it has some limitations. Let’s dive into some essential tips and tricks to test lenses.
How to Test a Camera Lens: Professional Guide
Inspecting a New Lens New lenses might exhibit issues due to manufacturing errors or shipment mishaps. Hence, thorough testing is vital before purchasing a new lens. Let’s look at some factors to consider during the testing phase.
Body Examination
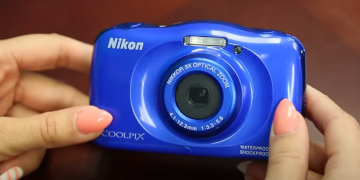
Though it’s a brand-new lens, it’s beneficial to scrutinize the body. Start with some basic tactile tests before proceeding with a more comprehensive examination. This not only helps you understand how the lens operates, but it also verifies its operational condition. Below are some rudimentary lens tests:
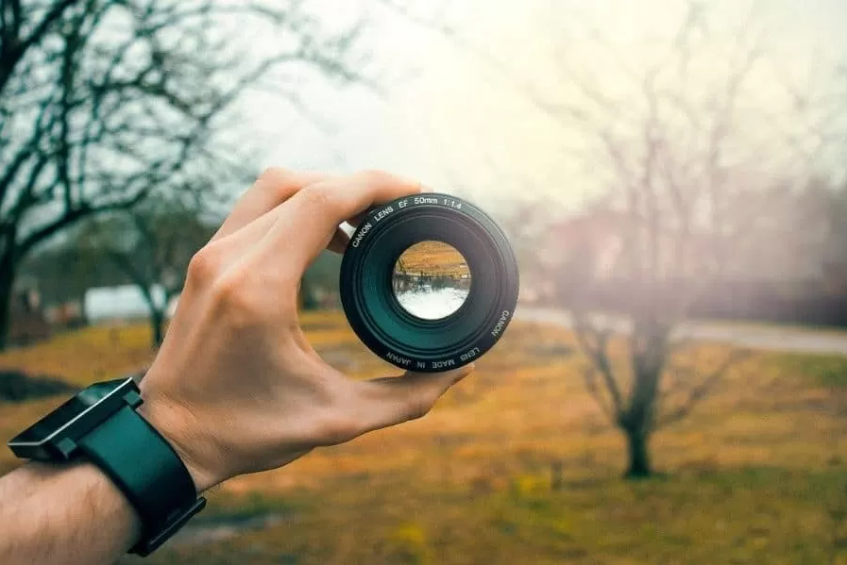
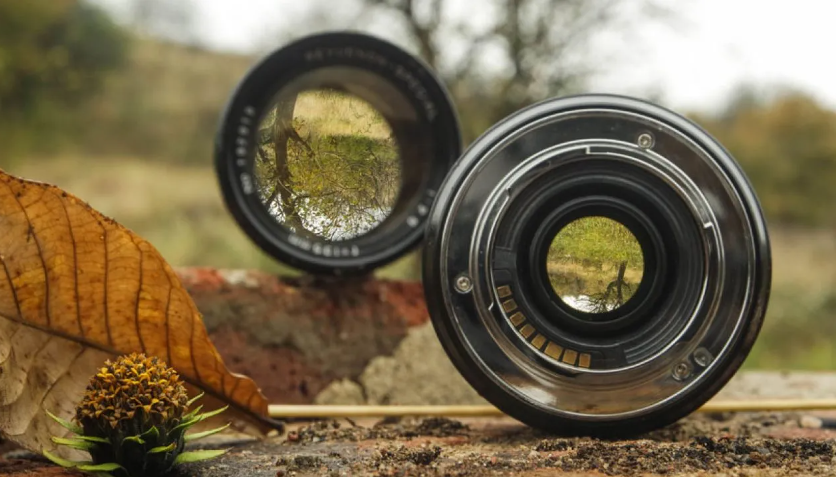
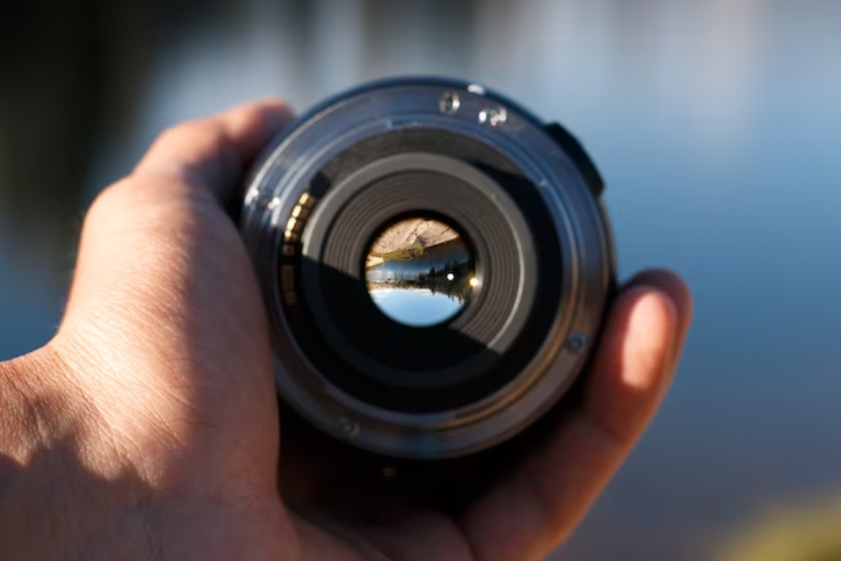
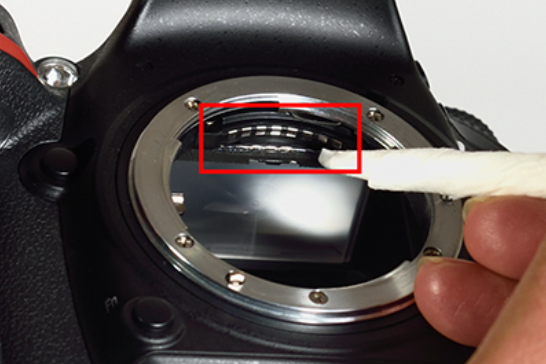
Lens Glass and Internals Scratches on the lens surface can significantly affect image quality by diminishing its overall integrity. Manufacturing errors or shipping mishandling can cause these scratches. Inspect the front and back elements for scratches, coating issues, and other imperfections.
Although scratches on the front lens element are less concerning, those on the back can significantly affect image quality. While adjusting the focus and zoom rings, peek through the lens. A bit of dust inside the lens is usually acceptable. However, ensure there’s no significant accumulation of dust.
Zoom Mechanism Test
The zoom mechanism plays a critical role in a lens, and its functionality should be spot-on. If it doesn’t work correctly, your desired shot may be compromised. It’s essential to verify the zoom mechanism’s smooth operation, both during zooming in and out.
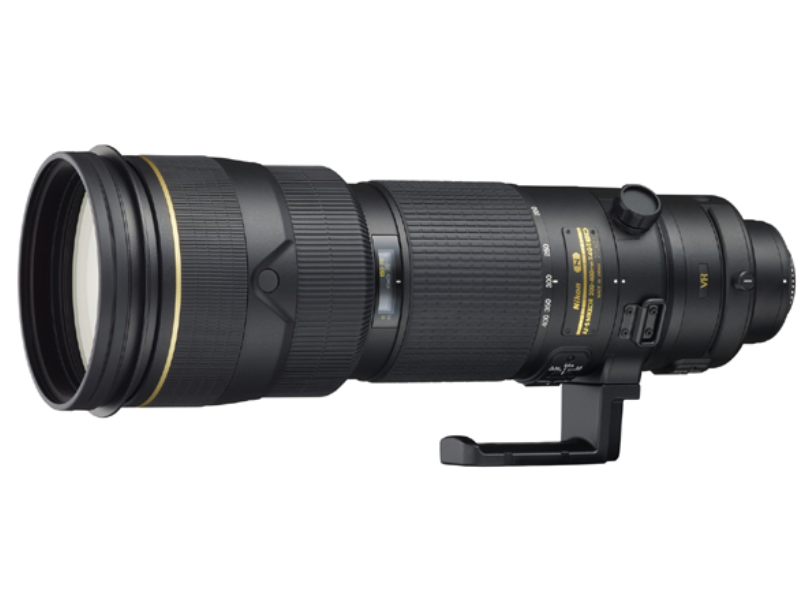
When rotating the zoom ring, the barrel should smoothly extend. Also, when extended, ensure the barrel isn’t loose; it shouldn’t wobble.
Mounting Ring Test
Mount and dismount the lens on your camera several times. The lens should attach easily but securely. Verify that the lens fits tightly with no looseness when mounted. Lastly, confirm that the locking latch engages correctly and releases effortlessly when you press the dismount button.
Lens Barrel Test
Lens barrels are assembled from various components. Underneath the rubber zoom and focus rings, there’s often a joint, and another one usually resides under the filter ring at the lens ends. The lens’s build quality will not improve with usage, so it’s essential to check this early on.
Make sure there are screws in each mounting hole when the lens is stretched. When zooming and focusing, the internal barrel should travel back and forth without resistance. Check the lens for any potentially rattling loose screws.
Focus Accuracy Test
The focus accuracy test is performed with a specific focus point. Initially, shoot with the lens at its widest aperture, then shoot again with the aperture slightly stopped down. The procedure is simple: autofocus the center at the test target and afterward check to see where the sharpest focus actually is on the scale or indicated diagonal line.
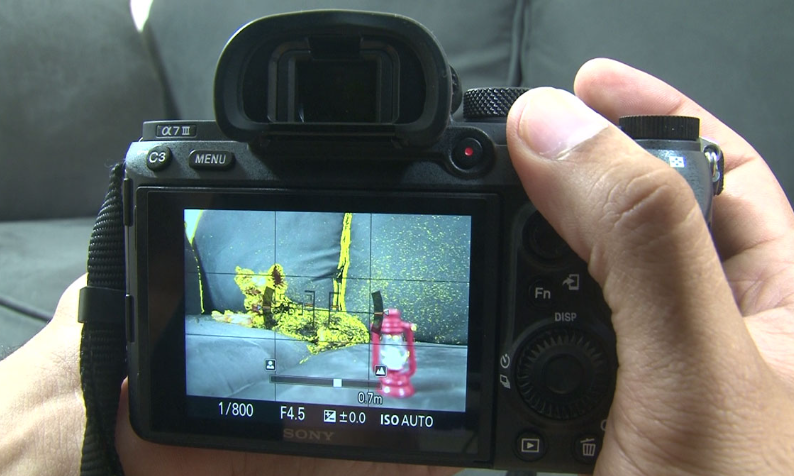
Every lens has a different focusing ability at close and distant ranges. Perform several tests at a variety of distances. Zoom lenses often focus differently at the shortest and longest focal lengths. Additionally, you should test the lens’s widest aperture at least twice, at different zoom levels, and at different distances from the test object.
Image Stabilization Test
Testing your handholding ability and shooting technique is worthwhile. Shoot a test target at various shutter speeds, with image stabilization (IS) on and off. Determine how many stops you can handhold. Remember, IS doesn’t work identically for every shot, so take a few shots with IS on at various ranges and speeds.
Don’t judge the lens by an artificial standard like “it has 4 stops of stabilization”. Simply assess whether and how much it aids you. Remember, the same IS system yields slightly different results for each person. What’s important is understanding how much benefit you gain from it.
Flare Testing
For flare tests, you need abundant direct sunlight. Position your lens so that the sun is shining from an angle from one of the corners. Look for flares or ghosts in the image and observe how much the contrast has reduced. This is a great way to understand how well a lens handles direct sunlight.
You May Also Like To Read: How to Speed Up Your Laptop
Scratches and Physical Damage
First, check the lens surface for scratches. Even a light scratch can impair the quality of your photos. Ensure that the lens surface is entirely free of scratches when buying a used lens.
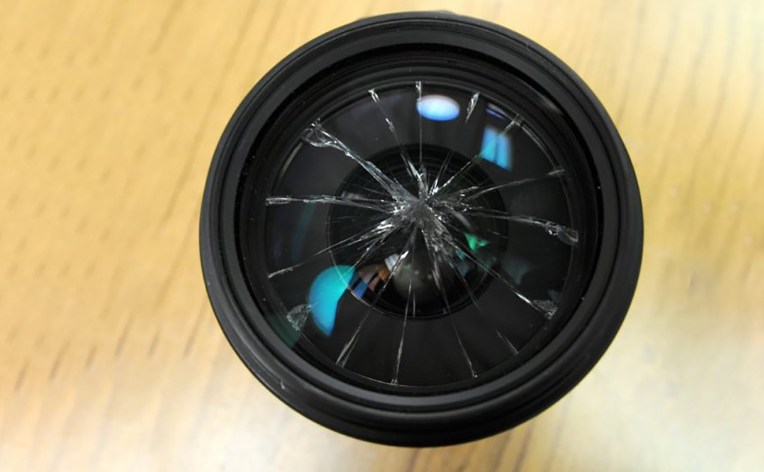
Apart from surface scratches, also look for scratches on the body and other physical damage. It’s common for minor wear to occur due to handling, sweat, and weather exposure, but dents are unacceptable.
Lens Mount Examination
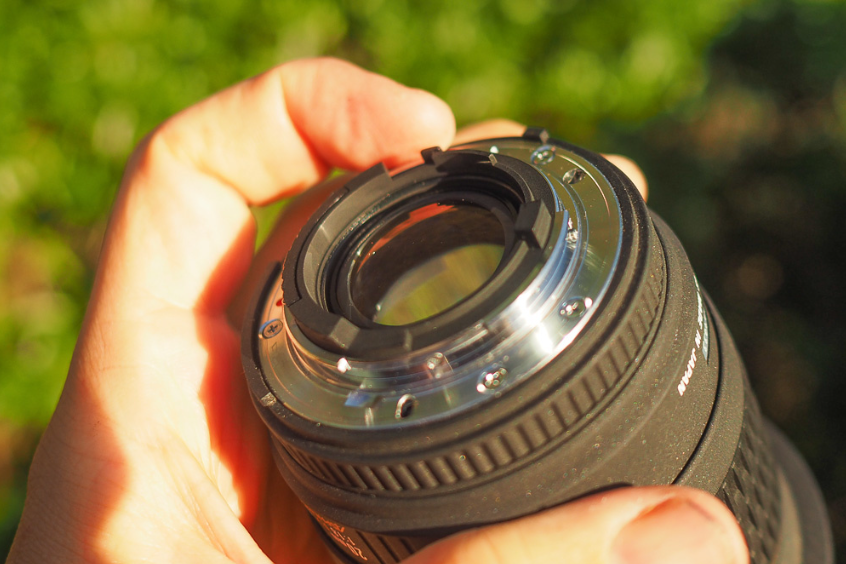
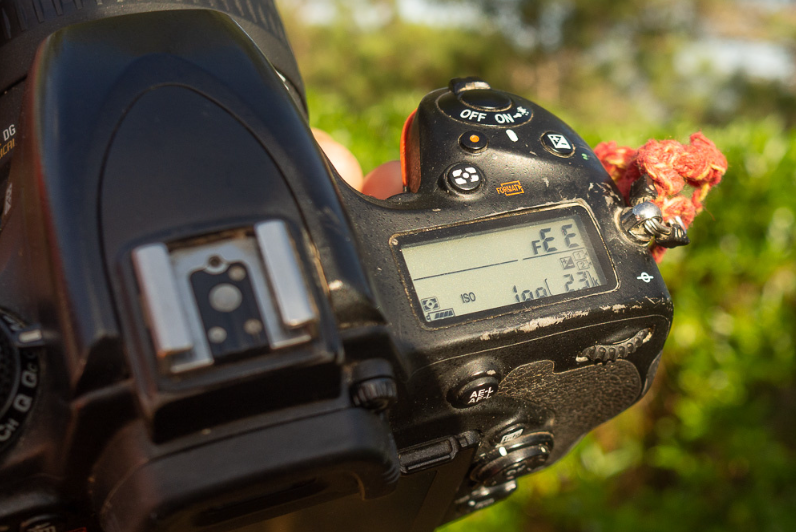
The lens mount gives a clue to the usage history of the lens. Over time, a significant portion of the mount’s metal wears off due to frequent use. Although this doesn’t affect image quality or performance, it can indicate how frequently the lens has been used, hinting at the overall wear and tear.
Contact Points and Mount Rings
Modern lenses have contact points that enable electronic communication between the camera and the lens, facilitating autofocus and aperture adjustments. They are typically gold-colored. If the previous owner didn’t keep the lens attached to the camera or didn’t use the rear lens cap when the lens was detached, dust and dirt might accumulate. Verify that the mounting ring is not damaged.
Aperture Blades Test
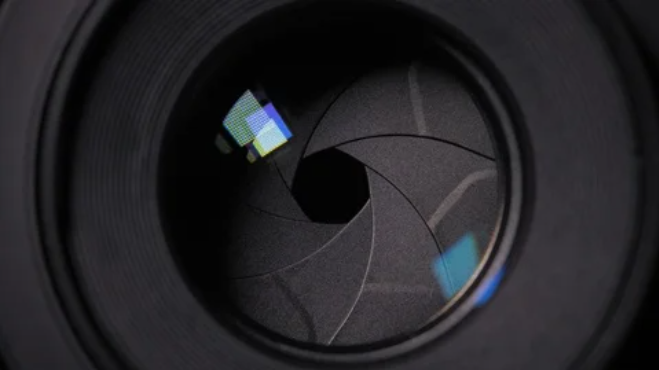
Inspect the aperture blades from the front and back of the lens to make sure they are in excellent shape before mounting the lens to the camera. To ensure that the aperture closes properly, manually move the aperture lever if it is located on the back of the lens.
Cross-threaded Filters Test
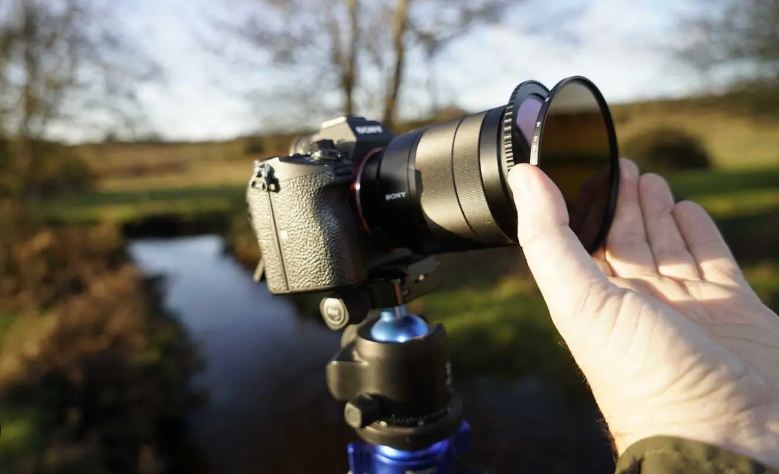
Filter threads on metal and plastic lenses can easily be cross-threaded, which is frustrating, especially if you rely heavily on filters. Inspect the filter threads thoroughly before buying. If possible, bring your filter to test and ensure it fits without issues.
The FAQs
How do I identify a poor camera lens?
Thoroughly test the lens. If you detect any scratches on the lens surface, physical damage, or zoom mechanism issues, the lens is likely subpar. The fungus can grow inside a lens if it’s stored in dark, damp conditions or exposed to water.
How to test a camera lens without a camera?
You can indeed test a lens without a camera. Examine the lens surface for scratches and dust. Rotate the zoom ring to assess the zoom mechanism. Shake the lens to confirm all screws are tightly fitted.
How do you recognize a good lens?
A good lens has a scratch-free surface, no dust inside, and all its parts, such as the zoom mechanism, function properly.
Read Also: How long Does it take to learn web
Do lenses lose sharpness over time?
No, a lens does not lose sharpness with age. The optics and glass do not deteriorate. However, seals, coatings, and adhesives may become brittle over time
Read also: click here


